5 Container infrastructure on ECS
It is now time to create an infrastructure in AWS to run container-based solutions! We will use the Amazon Web Services (AWS) service Elastic Container Service (ECS) to run an application packaged as a container. We will also put a load balancer in front of it, so that we can run multiple copies of that containerised application and distribute the load among those copies.
5.1 Containers with ECS
The Elastic Container Service (ECS) is one of the core services in AWS to run containers. While it is more complex than AppRunner, it is not too hard to get started with, so that is what we will pick here. It also helps that AWS CDK has substantial support for ECS. We will also use the flavour of ECS, that is called ECS Fargate. When we use Fargate, we will not need to concern ourselves with the underlying servers that the containers run on. These details are something that Fargate handles for us.
Note: ECS is not a free tier service in AWS. If you spin up containers in ECS, you will pay for the privilege. It will not cost much (probably < $1) unless you forget to shut it down afterwards you are done with this chapter.
A few pieces of terminology that may be of use here:
- A cluster. This is a collection of computational resources (also known as servers) that the containers run on, and the resources needed to manage these computational resources. With ECS Fargate, we do not need to care about the servers in the cluster, but we will still need a cluster to let AWS manage it for us.
- A container image. A reference to a specific solution/application packaging that we will use. This is where we have packaged the software components we want to run.
- An ECS Task. A collection of one or more container images with associated configuration we want to run as a unit in ECS. The specification of what those images are and their configuration is a TaskDefinition.
- An ECS Service. When we want to run an ECS task continuously in one or more copies and make sure it stays up, then we configure an ECS Service. ECS will do the heavy lifting for us to make sure it keeps running. If the task(s) itself dies or fails, ECS will auto-start up new ones.
Unfortunately, the terminology that different platforms to run containers use can differ, so this can become a bit confusing if you look at Kubernetes, or Docker Swarm. They are like ECS, but use partially different terminology.
5.2 Goals
Before we begin, let us define what we should accomplish. We will keep it relatively simple, but still not too simple. After that, we will refine our solution to make it better in various ways. Along the way, we should pick up some good practices and feature of the AWS CDK!
The list is pretty much the same as we used with AppRunner, and we will use the same web application as well, so that it will be easier to compare with the AppRunner set-up we used. This is a straightforward solution for us to test that we have something working, as there are pre-built container images to use.
- Expose an endpoint for a web application for HTTP traffic from internet.
- Web application shall run in a container.
- The container itself shall not be directly reachable from internet.
- We should be able to have a service set up so that containers will automatically be started if needed.
- We should be able to build our custom solution for this web server.
- We should be able to get container images from some container registry.
- We do not care about managing the underlying server infrastructure that runs the containers. I.e., we will use Fargate.
We will not fix all these points in one go, but iterate on these points. By listing a few points for our goals, we have something to focus on. Once we are done with these, we can refine even further.
5.3 Initialize our project
Similar to what we did for our previous projects, we create a new project and use the uv tool to initialialise it. We also add the aws-cdk-lib package.
mkdir my-container-infra
cd my-container-infra
uv init
uv add aws-cdk-lib
In addition, we can rename hello.py created by uv init to my-container-infra.py. You can pick another name if you wish, just remember to update the cdk.json file with that name.
As before, we want a cdk.json file to be created as well.
{
    "app": "uv run my-container-infra.py"
}
Contrary to the previous project we did, we will not keep everything in a single source code file.
So let us start from the top, in our main program file, container-infra.py. Our starting point will be quite similar to our previous project, with an App and a Stack. We will also fetch the default VPC.
import os
import aws_cdk as cdk
from aws_cdk import (
    aws_ec2 as ec2,
)

app = cdk.App()
env = cdk.Environment(account=os.getenv("CDK_DEFAULT_ACCOUNT"),
                      region=os.getenv("CDK_DEFAULT_REGION"))
stack = cdk.Stack(app, "my-container-infra", env=env)

vpc = ec2.Vpc.from_lookup(stack, "vpc", is_default=True)

app.synth()
If you run this code via cdk synth, get an empty CloudFormation template, which is fine, since we have added no actual resources yet. You will get an error if you have specified no AWS credentials, because it does not know which account and region to look up the VPC from. So make sure you use valid and relevant credentials. You will also get an error if you forget to include the last app.synth() call, because this will trigger the generation of the CloudFormation template data.
Now we will start with the actual container infrastructure!
5.4 Setting up an ECS cluster
The first piece of infrastructure we need to set up to run is an ECS cluster. This is mainly a logical resource which we can use to group the different containers we are running. We could just add a few lines of code in our main files to create the cluster, but we will prepare a bit for future more complex set-up. So instead we will package this in its own module.
Let us create a new file name containers.py.
In this file, we make a function to add a cluster, since we want to add this to our stack to deploy it later. In AWS CDK there is an aws-cdk-lib/aws-ecs sub-module for ECS, in which there is a construct with name Cluster. This is the one we are going to use when we create the cluster. In the documentation for Cluster, we can see that all properties are optional. However, if we want to use our existing VPC, we need to provide that. Otherwise, AWS CDK will create a new VPC for us, which may not be what we want. So with that in mind, our first naïve function signature, in containers.py, may look like this:
import aws_cdk as cdk
from aws_cdk import (
    aws_ec2 as ec2,
    aws_ecs as ecs,
)

def add_cluster(scope: cdk.Stack, vpc: ec2.IVpc) -> ecs.Cluster:
    pass
The function will add the cluster we create to the stack we provide and then return a reference to the cluster itself that was created. We pass in the VPC as a parameter, where we use the type IVpc. This is returned by ec2.Vpc.from_lookup(). Any type that begins with an “I” is an interface type, which provides a subset of the functionality of a full-blown construct - which is typically the case when the resource is a reference to something that already exists and you not have created yourself.
The implementation is short, like this:
def add_cluster(scope: cdk.Stack, vpc: ec2.IVpc) -> ecs.Cluster:
   return ecs.Cluster(scope, "cluster", vpc=vpc)
We create a Cluster object, passing in the VPC as a property. The Cluster object we create also gets a name (not the same as a cluster name!), which we have set to cluster.
However, in case we want to reuse the function, this might be troublesome with a hard-coded name for our Cluster object. In AWS CDK, every resource or construct gets an identifying name. It does not have to be globally unique, but at the same level in the resource hierarchy, it has to be unique. So we will need to change that, if we want to be sure to reuse the function without a problem. Thus, we can add a parameter to give the Cluster construct a name as well.
def add_cluster(scope: cdk.Stack, id: str, vpc: ec2.IVpc) -> ecs.Cluster:
   return ecs.Cluster(scope, id, vpc=vpc)
If we look closer to the parameters that Cluster expects in the AWS CDK documentation when we create an object, we can see in its signature that the first parameter is a Construct, not a Stack. A Stack is a kind of Construct, so it is perfectly fine to pass in a Stack. The reason for the first parameter to be a Construct is that we can compose multiple resources to build our own constructs, which is exactly how the AWS CDK itself has built the higher-level building blocks from the CloudFormation-based primitives.
So allowing ourselves to reuse this not only directly in a Stack, but in constructs we create ourself, let us change the type of the first parameter to Construct instead:
def add_cluster(scope: cons.Construct, id: str, vpc: ec2.IVpc) -> ecs.Cluster:
   return ecs.Cluster(scope, id, vpc=vpc)
Except for the type change for scope, the code is identical. However, the Construct class is in a different package, called constructs. We can add an import statement for it: import constructs as cons. In additition, we need to add the package, so we should also execute the command uv add constructs. In this case, we do not need the import aws_cdk as cdk statement in containers.py, so we can remote that also. Thus, our containers.py file will look like this now:
import constructs as cons
from aws_cdk import (
    aws_ec2 as ec2,
    aws_ecs as ecs,
)

def add_cluster(scope: cons.Construct, id: str, vpc: ec2.IVpc) -> ecs.Cluster:
   return ecs.Cluster(scope, id, vpc=vpc)
In our main program in my-container-infra.py, we import the function and add a cluster to the stack we created previously. The code would look like this:
import os
import aws_cdk as cdk
from aws_cdk import (
    aws_ec2 as ec2,
)
import containers

app = cdk.App()
env = cdk.Environment(account=os.getenv("CDK_DEFAULT_ACCOUNT"),
                      region=os.getenv("CDK_DEFAULT_REGION"))
stack = cdk.Stack(app, "my-container-infra", env=env)

vpc = ec2.Vpc.from_lookup(stack, "vpc", is_default=True)

containers.add_cluster(stack, "my-test-cluster", vpc)

app.synth()
You can run cdk synth (or cdk synth ---quiet) to check that AWS CDK thinks your code is ok. You can also run a cdk deploy to deploy the ECS cluster. AWS does not charge you for empty ECS clusters, it is only when you actually add containers to run in it you get charged. If you deploy it and look in the view of ECS in AWS Console, it should look like this:
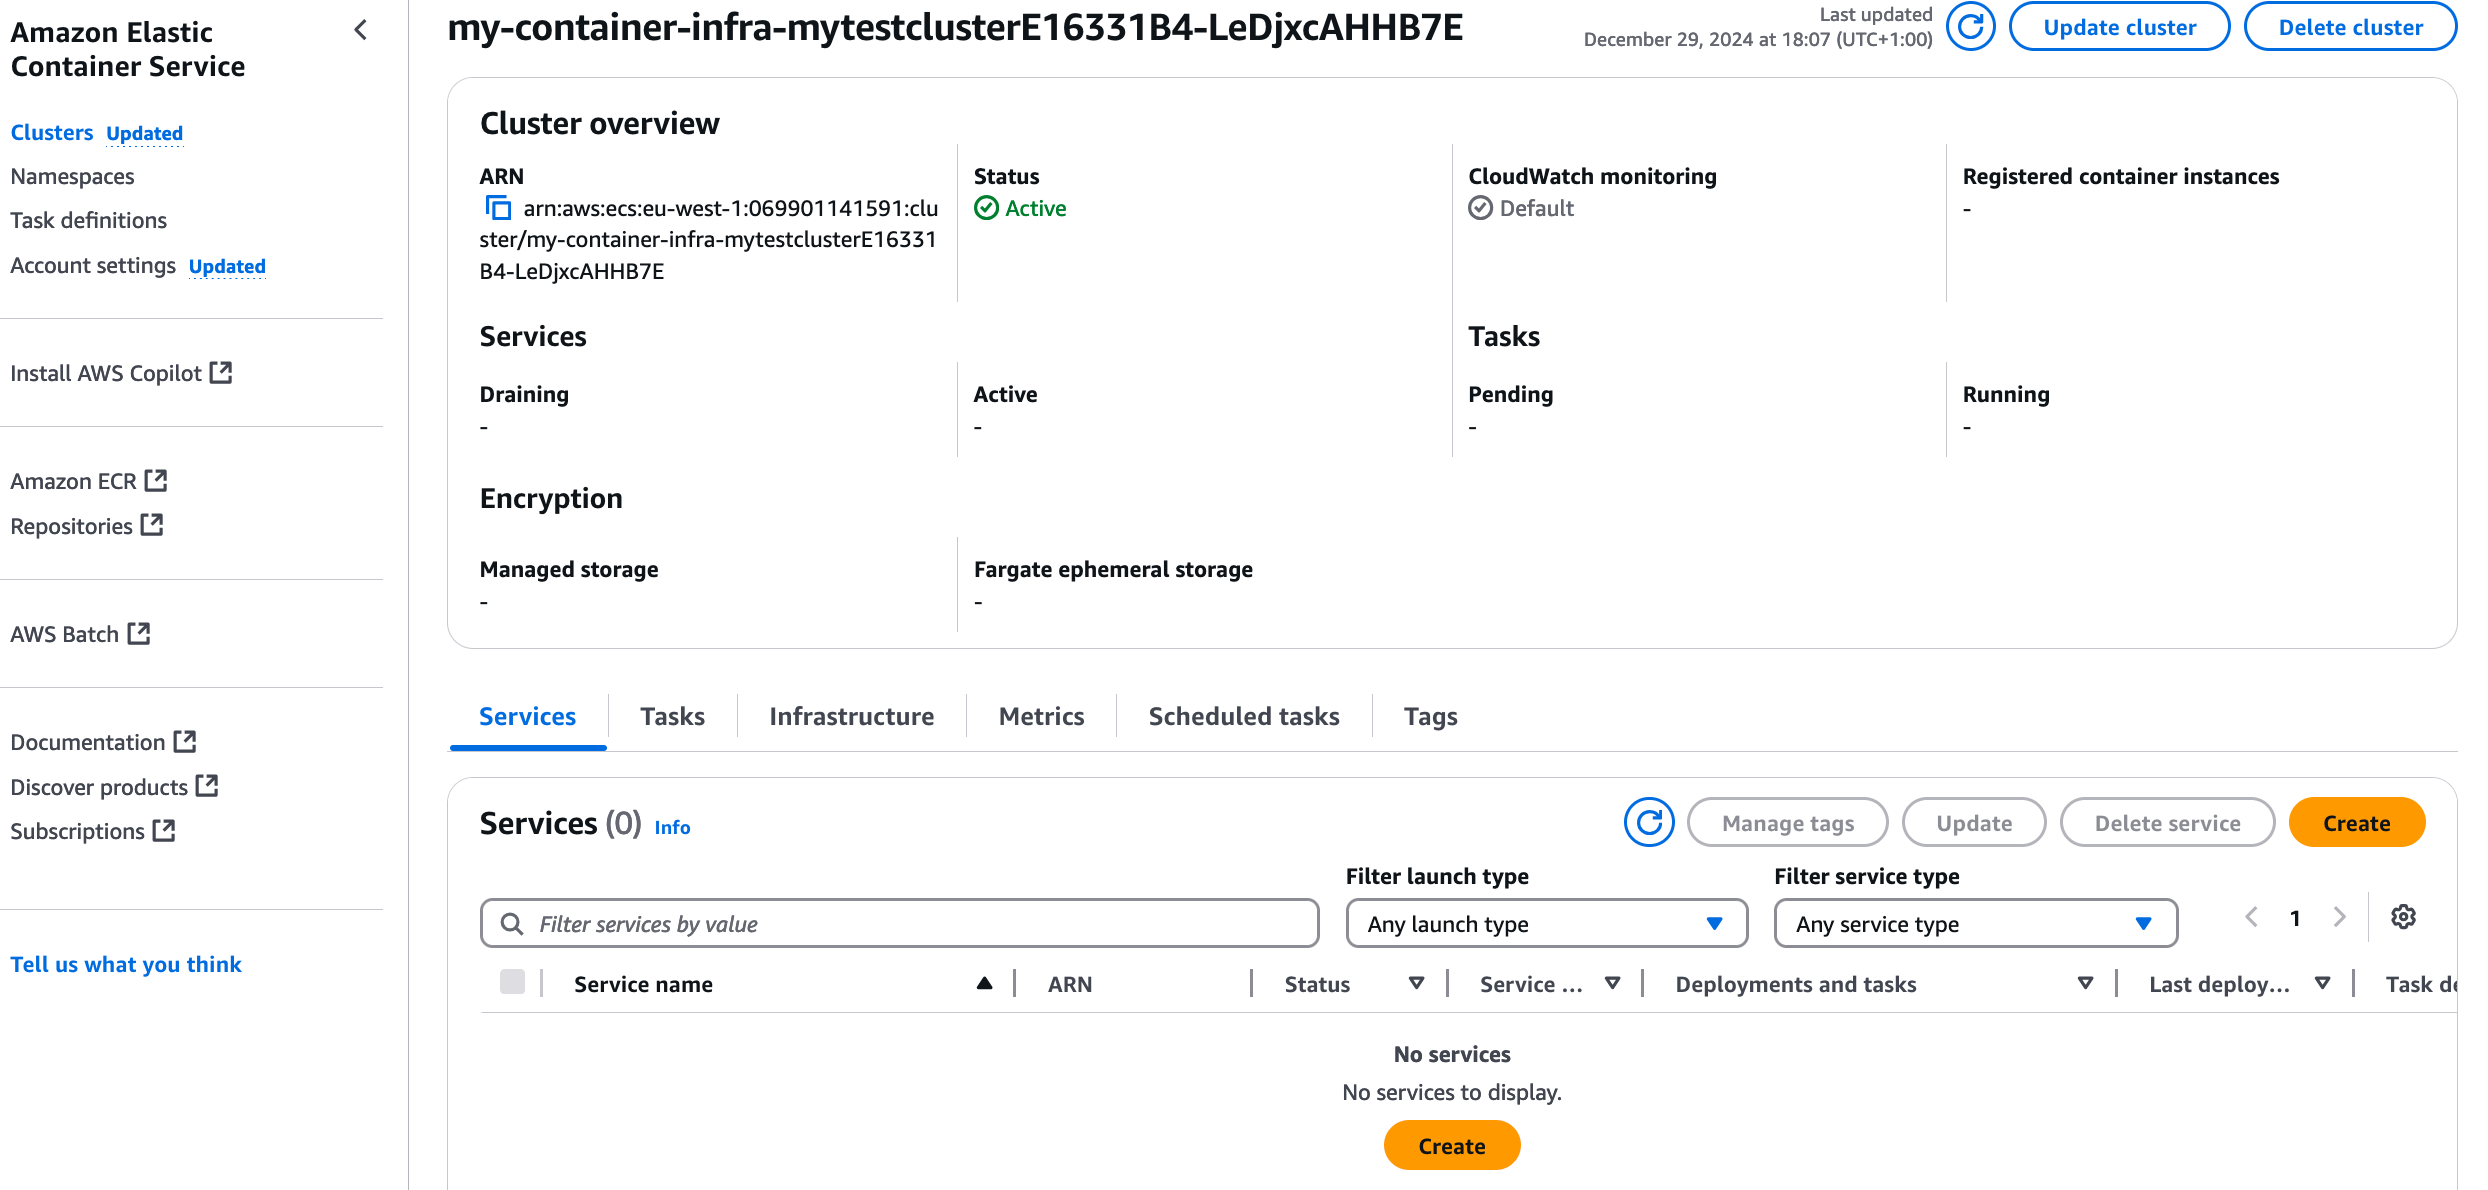
Great work! Now it is time to add an actual task to run into the cluster.
5.5 Create an initial task definition
As we mentioned earlier, we set up something to run by using the AppRunner test app, for which there are container images already which we can download. An application that runs in AWS ECS is called a Task. To create a Task, we need a TaskDefinition. It needs to contain at least one container image definition. Let us assume we need to configure things at the task level and at the container level.
Let us just add some placeholders for task and container configuration, and for now only handle the case with a single container in a task. So a first stab at a function for this could be:
class TaskConfig(TypedDict):
    pass


class ContainerConfig(TypedDict):
    pass


def add_task_definition_with_container(
    scope: cons.Construct,
    id: str,
    task_config: TaskConfig,
    container_config: ContainerConfig,
):
    pass
We will use Python TypedDict to define our own data structures. We have not determined yet exactly what we should have in these data structures, so we leave them empty for now. There is also a function to add a task definition with container information.
In our goals, we stated we do not care about managing the underlying server infrastructure that the containers run in; we let AWS handle that for us. This means that we will use a AWS Fargate, where AWS will handle many of the underlying details. For this purpose, AWs CDK provides a FargateTaskDefinition to define our task. Such a definition requires at least to specify the amount of CPU to allocate and the memory limit for the container. So we should add that to our TaskConfig. Another nice-to-have parameter is the family, which is a name to group multiple versions of a task definition.Our updated TaskConfig then looks like this:
class TaskConfig(TypedDict):
    cpu: Literal[256, 512, 1024, 2048, 4096]
    memory_limit_mb: int
    family: str
There are only a few fixed values that we can set for CPU, where 1024 represents 1 vCPU (virtual CPU). So we define the cpu property to only include these values. There are also some restrictions on the memory based on the CPU setting, but it is a bit too complex for a simple type definition. So we just expect a number for the memory limit, in megabytes.
Now we can add a task definition in our function:
def add_task_definition_with_container(
    scope: cons.Construct,
    id: str,
    task_config: TaskConfig,
    container_config: ContainerConfig,
) -> ecs.FargateTaskDefinition:
    taskdef = ecs.FargateTaskDefinition(
        scope,
        id,
        cpu=task_config["cpu"],
        memory_limit_mib=task_config["memory_limit_mib"],
        family=task_config["family"],
    )
    return taskdef
Since a task definition can have one or more containers, adding container(s) is a separate operation. Thus we will add a method call for this on the task definition, add_container(). The minimum we have to add is a reference to a container image. If we for now assume we will just use a container image from public ECR as in the prervious chapter, then we can define ContainerConfig as this for now:
class ContainerConfig(TypedDict):
    image: str
Using this input to our add_task_definition_with_container() function, we can now add a minimal container configuration. The ContainerImage.from_registry() function retrieves image information from DockerHub or other public image registries. Will this be enough for us to get it running? Let us find out!
def add_task_definition_with_container(
    scope: cons.Construct,
    id: str,
    task_config: TaskConfig,
    container_config: ContainerConfig,
) -> ecs.FargateTaskDefinition:
    taskdef = ecs.FargateTaskDefinition(
        scope,
        id,
        cpu=task_config["cpu"],
        memory_limit_mib=task_config["memory_limit_mib"],
        family=task_config["family"],
    )

    image = ecs.ContainerImage.from_registry(container_config["image"])
    image_id = f"container-{_extract_image_name(container_config['image'])}"
    taskdef.add_container(image_id, image=image)

    return taskdef

def _extract_image_name(image_ref):
    name_with_tag = image_ref.split('/')[-1]
    name = name_with_tag.split(':')[0]
    return name
The function _extract_image_name() extracts the image name from the image reference. i.e. the part after the last / and before the :. In the image reference public.ecr.aws/aws-containers/hello-app-runner:latest, this will be hello-app-runner.
We need to add a call to our new function in our main program, so that we can add the task definition to our stack.
taskconfig: containers.TaskConfig = {
    "cpu": 256,
    "memory_limit_mib": 512,
    "family": "webapp",
}
containerconfig: containers.ContainerConfig = {
    "image": "public.ecr.aws/aws-containers/hello-app-runner:latest",
}
containers.add_task_definition_with_container(
    stack, f"taskdef-{taskconfig['family']}", taskconfig, containerconfig
)
We add this to the end of our main program, but just before app.synth(). Now we add an ECS cluster to our stack, as well as an ECS Task Definition - at least from the point of view of our AWS CDK code. What about IAM permissions, security groups? AWS CDK will create a few things under the hood for us. We can get an idea of what will actually be created by running the command cdk diff with our updated stack. But first, this is how our main program file looks like now:
import os
import aws_cdk as cdk
from aws_cdk import (
    aws_ec2 as ec2,
)
import containers

app = cdk.App()
env = cdk.Environment(
    account=os.getenv("CDK_DEFAULT_ACCOUNT"), region=os.getenv("CDK_DEFAULT_REGION")
)
stack = cdk.Stack(app, "my-container-infra", env=env)

vpc = ec2.Vpc.from_lookup(stack, "vpc", is_default=True)

containers.add_cluster(stack, "my-test-cluster", vpc)

taskconfig: containers.TaskConfig = {
    "cpu": 512,
    "memory_limit_mib": 1024,
    "family": "webapp",
}
containerconfig: containers.ContainerConfig = {
    "image": "public.ecr.aws/aws-containers/hello-app-runner:latest",
}
containers.add_task_definition_with_container(
    stack, f"taskdef-{taskconfig['family']}", taskconfig, containerconfig
)

app.synth()
With this program, if we run cdk diff, and we already deployed the empty ECS cluster before, the changes may look like this:
❯ cdk diff
Uninstalled 1 package in 9ms
Installed 1 package in 3ms
start: Building 160f6d76bedb512274477638d09a9fff64fa498a3be131726969373f348b8e40:069901141591-eu-west-1
success: Built 160f6d76bedb512274477638d09a9fff64fa498a3be131726969373f348b8e40:069901141591-eu-west-1
start: Publishing 160f6d76bedb512274477638d09a9fff64fa498a3be131726969373f348b8e40:069901141591-eu-west-1
success: Published 160f6d76bedb512274477638d09a9fff64fa498a3be131726969373f348b8e40:069901141591-eu-west-1
Hold on while we create a read-only change set to get a diff with accurate replacement information (use --no-change-set to use a less accurate but faster template-only diff)
Stack my-container-infra
IAM Statement Changes
┌───┬───────────────────────────────────┬────────┬────────────────┬─────────────────────────────────┬───────────┐
│   │ Resource                          │ Effect │ Action         │ Principal                       │ Condition │
├───┼───────────────────────────────────┼────────┼────────────────┼─────────────────────────────────┼───────────┤
│ + │ ${taskdef-webapp/TaskRole.Arn}    │ Allow  │ sts:AssumeRole │ Service:ecs-tasks.amazonaws.com │           │
└───┴───────────────────────────────────┴────────┴────────────────┴─────────────────────────────────┴───────────┘
(NOTE: There may be security-related changes not in this list. See https://github.com/aws/aws-cdk/issues/1299)

Resources
[+] AWS::IAM::Role taskdef-webapp/TaskRole taskdefwebappTaskRole18D47E42
[+] AWS::ECS::TaskDefinition taskdef-webapp taskdefwebapp2E748BDD


✨  Number of stacks with differences: 1
We can see there is an IAM Role with permissions that seems to be related to ECS Task execution. We also see that there is the ECS TaskDefinition. When we use the cdk diff command, we can see what changes a deployment of our AWS CDK code would make to our stack. However, this information is presented in terms of CloudFormation resources. While you do not need to be an expert in CloudFormation, it is certainly beneficial to read and understand CloudFormation resource descriptions. This is also true when we write unit tests for our infrastructure, which we will see in a later chapter.
If you run cdk deploy to deploy this added infrastructure, we can log in to the AWS Console and see the result. In the ECS Service view in AWS Console, see an ECS task appearing now:
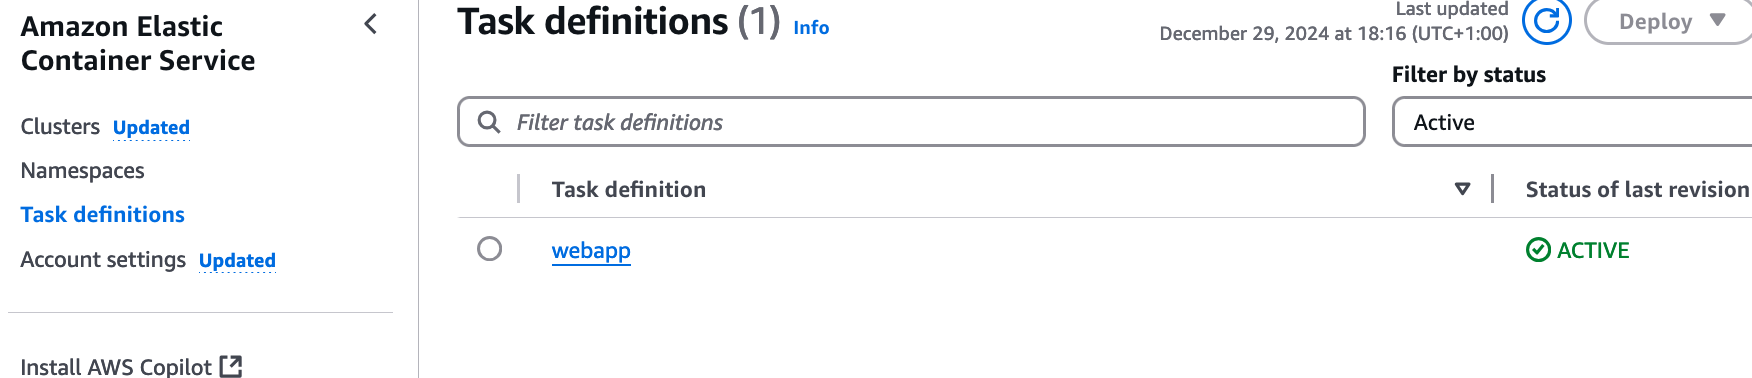
You can drill further into the task definition to see the settings in place there. What we should focus on now, though, is to get it running. At this stage, we only have the task definition, not an actual running task. We could start the webapp manually from AWS Console, by creating an ECS Service, or starta a task there.
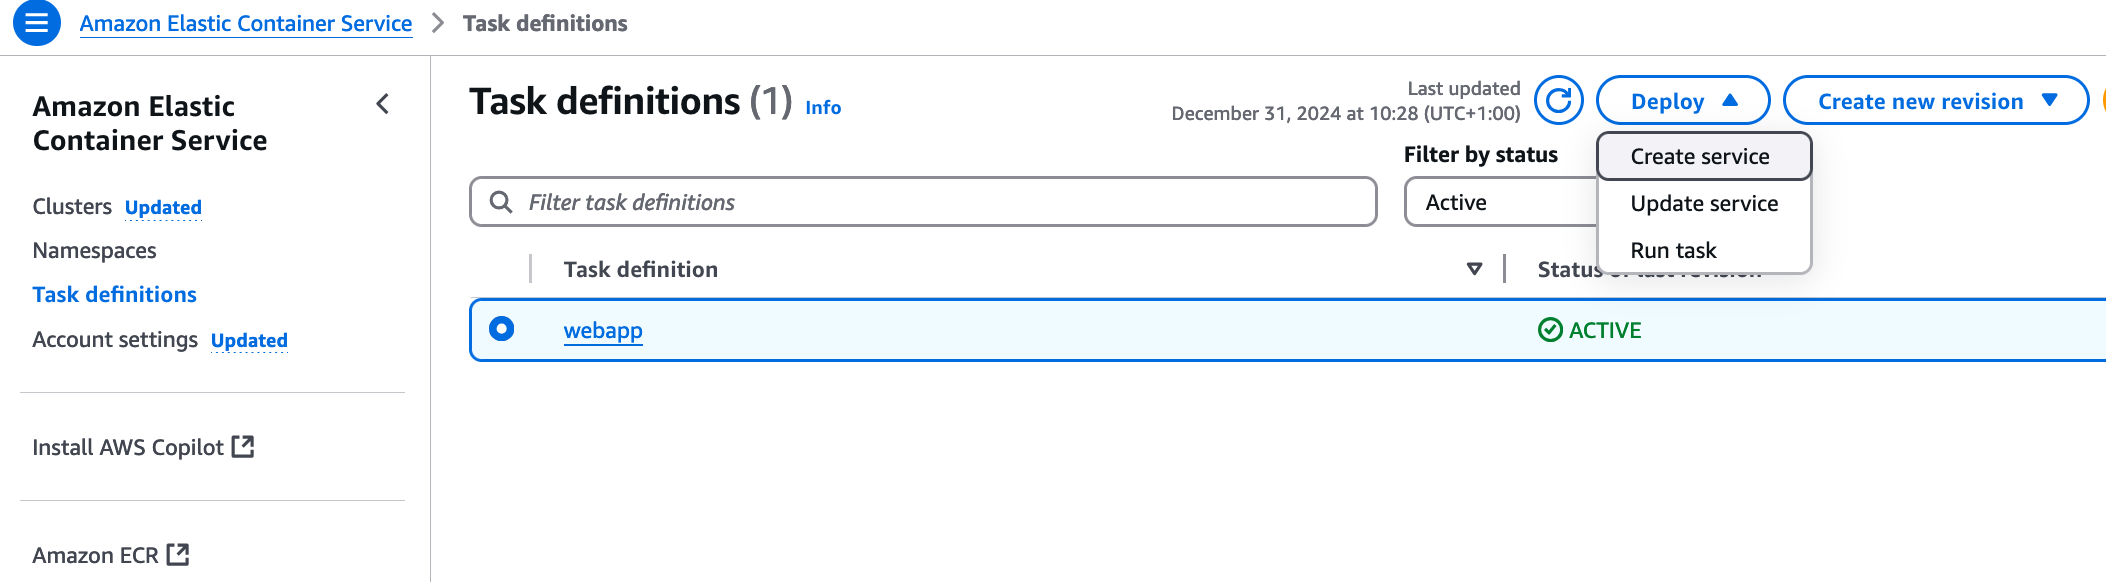
Starting a task means that AWS will run the container image acording to the configuration in the task definition. If it terminates, it is gone. Other other hand, an ECS Service will start the task, but also make sure it keeps running and restart it if it terminates.
Feel free to play around with that if you want. However, we are going to set that up properly with infrastructure as code in the next chapter!
5.6 Rounding up and final notes
You should probably destroy the provisioned infrastructure before you forget it, so remember to run cdk destroy before you forget what you did here!
Looking at our goal list, we got some points we covered here, and a few that remain:
- Expose an endpoint for a web server for HTTP traffic from internet.
- Web server shall run in a container.
- The container itself shall not be directly reachable from internet.
- We should be able to have a service set up so that containers will automatically be started if needed.
- We should be able to build our custom solution for this web server.
- We should be able to get container images from a container registry.
- We do not care about managing the underlying server infrastructure that runs the containers. I.e., we will use Fargate.
So out of the 7 goals, we have covered 4 of them. The next three will be in the next chapter!